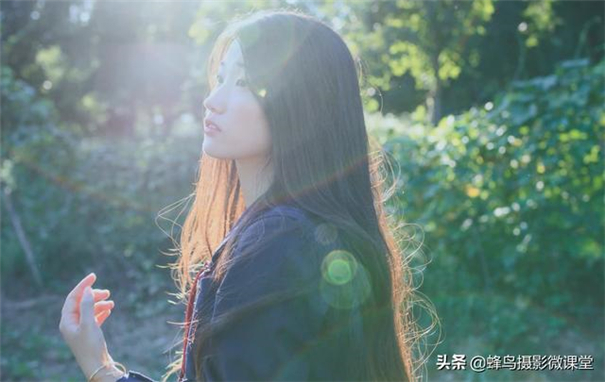
原图素材的绿植由于光线偏暗,呈现的绿色没有那么鲜绿。总体感觉少了很多生气。调色的时候适当把植物调绿,再把人物部分调亮即可。
原图

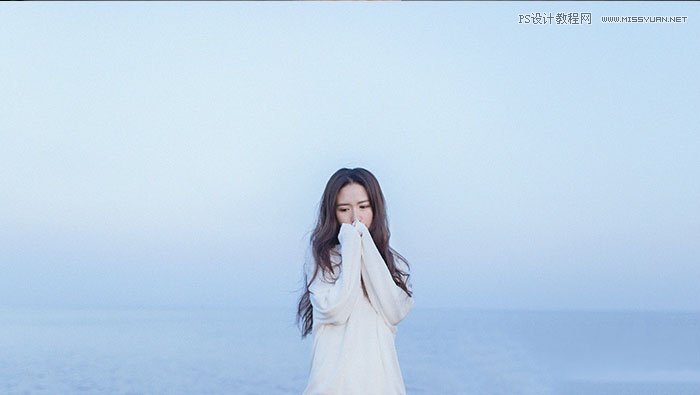
最终效果

1、打开素材图片,选择菜单:图像 > 模式 > Lab颜色,确定后把背景图层复制一层,点通道面板,选择a通道,按Ctrl + A全选,按Ctrl + C复制,选择明度通道,按Ctrl + V粘贴,回到图层面板,把图层混合模式改为“柔光”。

2、新建一个图层,按Ctrl + Alt + Shift + E盖印图层,点通道面板,选择b通道,按Ctrl + A全选,按Ctrl + C复制,选择明度通道,按Ctrl + V粘贴,回到图层面板,把图层混合模式改为“柔光”,新建一个图层,盖印图层。

3、选择菜单:图像 > 模式 > RGB颜色,点不合拼,创建通道混合器调整图层,参数设置如下图,确定后把图层混合模式改为“柔光”。


4、按“Q”进入快速蒙版,把人物皮肤选取出来,按“Q”转为选区,然后创建曲线调整图层,参数设置如下图。

5、创建曲线调整图层,参数及效果如下图。


6、创建色相/饱和度调整图层,参数设置如下图,确定后完成最终效果。


